Create barcodes and print labels
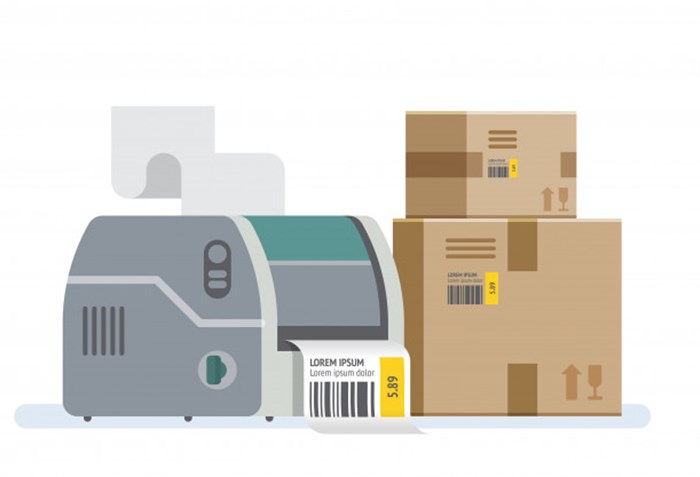
Barcode printing in ACCOXI deals with the printing of barcode labels. User can create new barcode and enter the number of labels wanted and user can print accordingly.
Barcode is a very familiar term for each and every one. But navigating barcodes of each product is not an easy task. Free billing software Accoxi will simplify your efforts and the option Barcode printing will deals with the printing in Barcode. In this option user can create barcode, and can enter the number of label wanted. Through a single click user can effortlessly create a barcode.

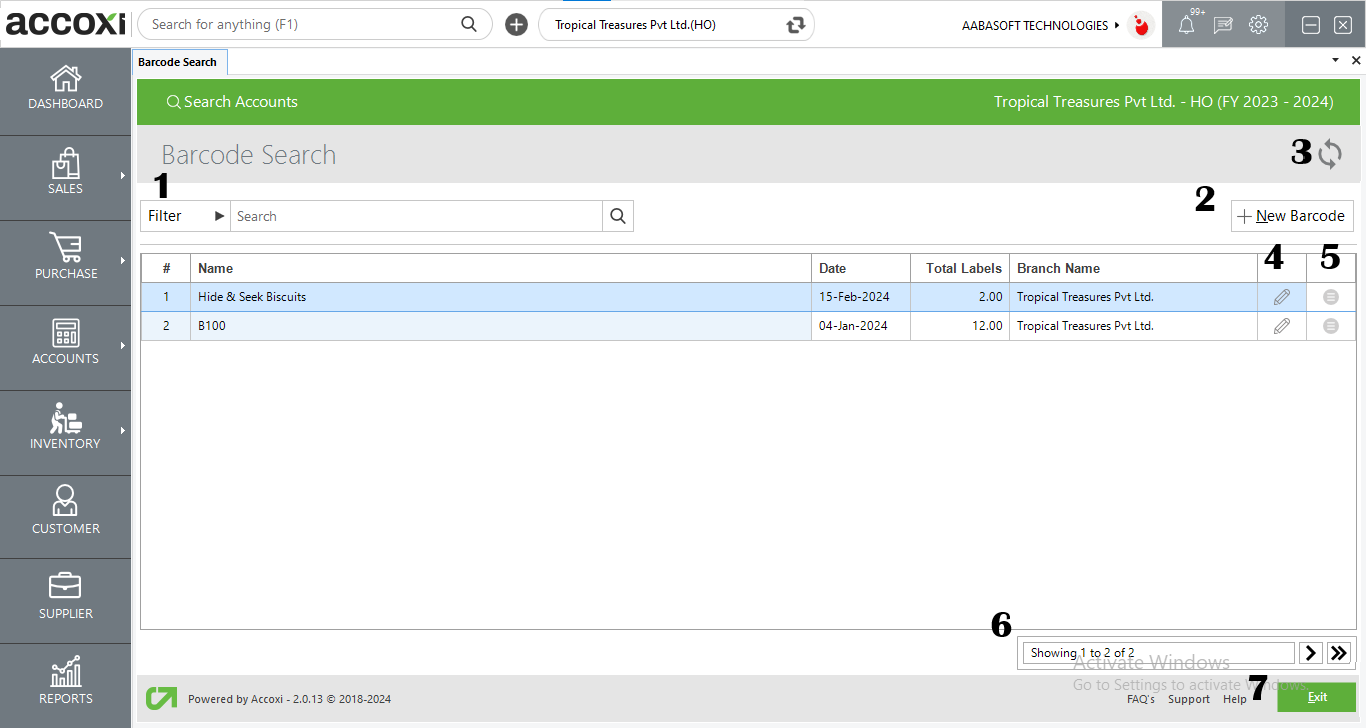
OPTIONS AVAILABLE IN THE BARCODE SEARCH MENU:
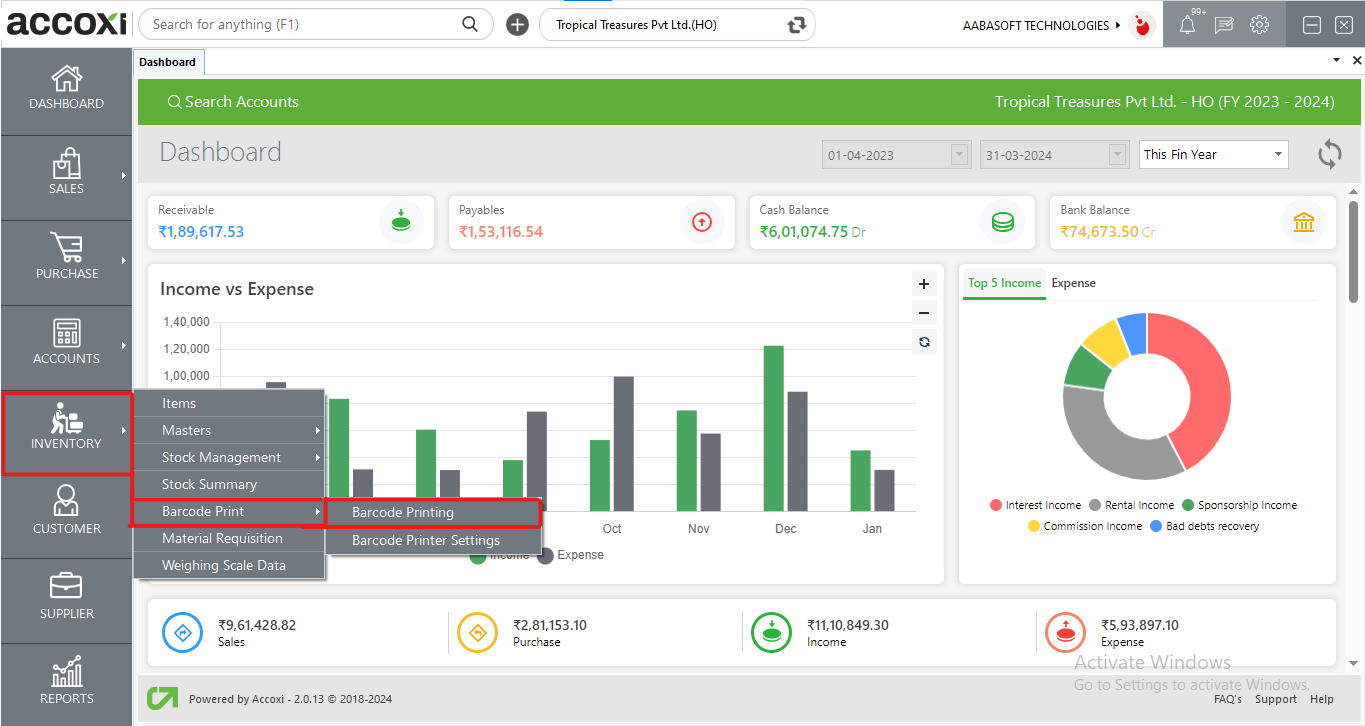
By clicking the inventory module and selecting the barcode printing menu user will be redirected to a barcode search window where the user will be able to view all the barcodes created.
1. FILTER
The filter option in the Barcode search window helps the user to filter the barcode data shown in the window
2. NEW BARCODE
A new barcode can be created by clicking on the new barcode option.
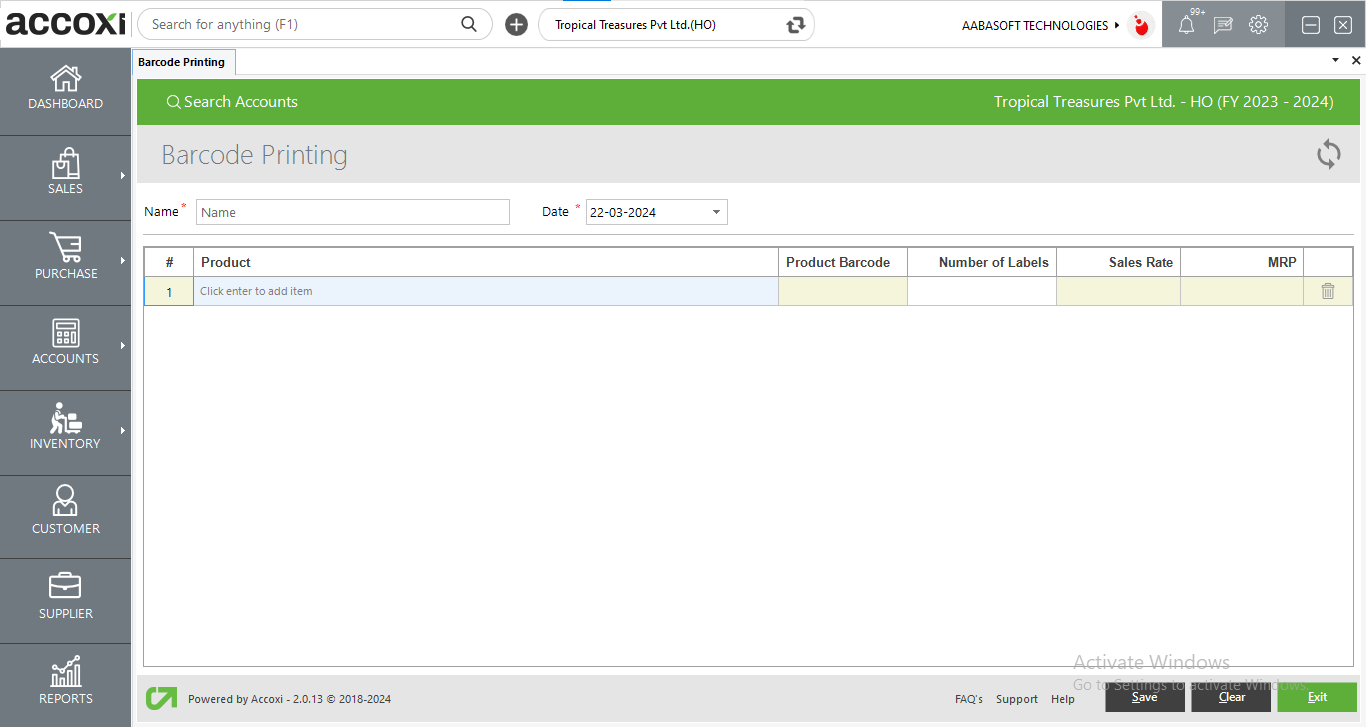
Steps to add a NEW BARCODE:
|
FIELDS |
DESCRIPTION |
|
Name |
Enter the name of the barcode |
|
Date |
The date of the barcode should be selected here |
|
Print product barcode and batch barcode |
Users can select which barcode type to printer ie. product barcode or batch barcode |
|
# |
Shows the serial number of the data in the table |
|
Product |
Shows the name of the product that the user wants to create barcode |
|
Product Barcode |
Barcode of the product will be shown here |
|
Batch |
Shows the batch of the product that the user wants to create a barcode of |
|
Number of labels |
The number of labels that the user wants to print should be added here |
|
Sales rate |
The sales rate column is blocked since it is automatically filled when the user selects the batch of the product |
|
MRP |
MRP of the selected product is showing here |
|
Delete option |
Users can delete the data in the rows easily by clicking this button |
|
Save |
To save the new barcode created this button can be used |
|
Clear |
To clear the data entered in the barcode printing window |
|
Exit |
This button exits from the whole barcode window. |
DATA AVAILABLE IN THE BARCODE SEARCH TABLE
|
FIELD |
DESCRIPTION |
|
# |
The serial number of the data in the table is displayed |
|
NAME |
The name of the barcode created is shown |
|
DATE |
The date of the barcode created is displayed in this column |
|
TOTAL LABELS |
The total number of labels to be printed is shown here |
|
BRANCH NAME |
The branch name is shown here |
3. REFRESH
If your latest data is not displayed, click on the refresh icon on the top left corner of the page to fetch the new data.
4. Edit option
The user can edit the details of the barcode created by clicking this icon and the user will be redirected to the barcode printing window where he can see all the information about the barcode created.
5. More option
The user can print and take duplicates of the barcode data.
6. Pagination Control
It controls the page navigation and the page size. Page size can be set to 10, 20, 50, or 100. By giving the page number in the box and clicking on the Go button, the user can jump to the entered page.
7. Exit
Below the pagination control, there is an exit button. If you want to exit the barcode search page click on exit button.
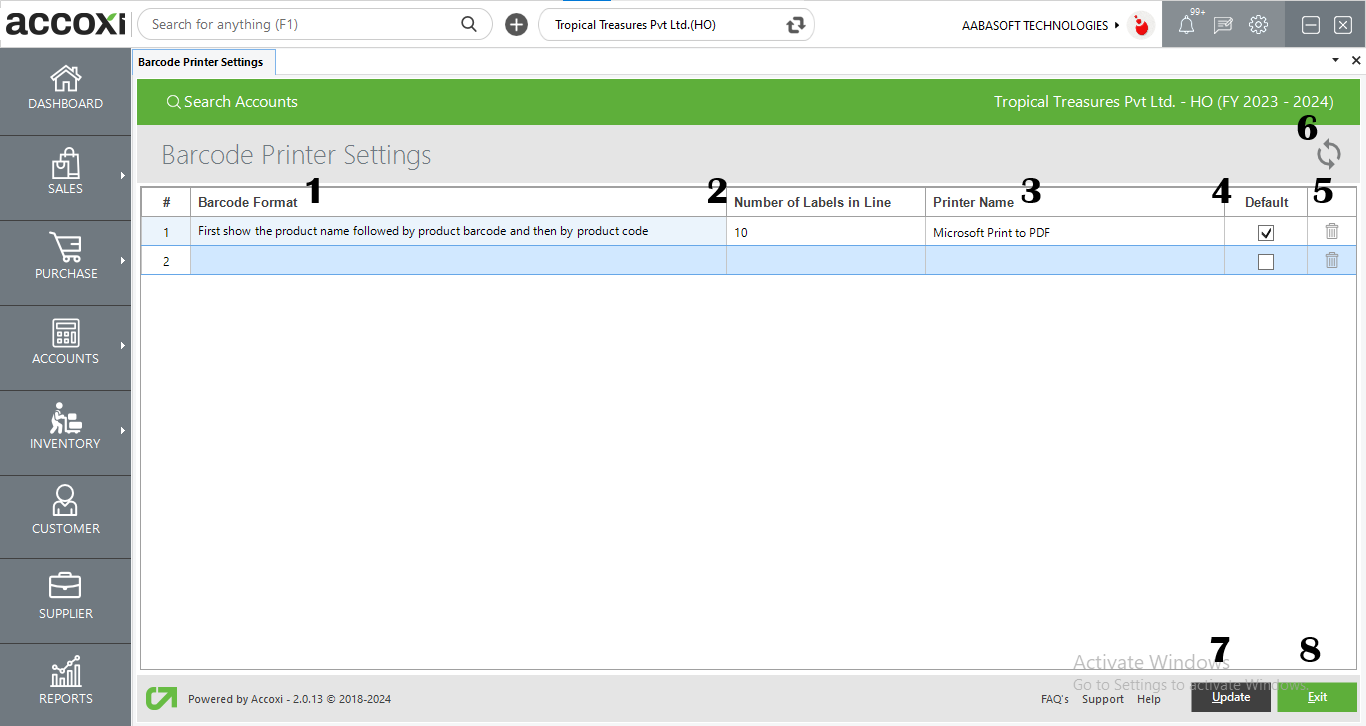
A barcode printer is a computer peripheral for printing barcode labels. The Barcode printer settings can be accessed from the inventory menu. This menu deals with the settings of the Barcode printer. Settings like barcode format, number of labels in line, printer name, etc.
Users can enter the barcode format in this section
The number of labels to be printed can be set in this section
Users can select the printer name from the drop-down option.
This option enables the user to set the default printer to take prints.
The user can delete the printers if wanted a validation message will pop up and the user can click yes to delete the added printers.
If your latest data is not displayed, click on the refresh icon on the top left corner of the page to fetch the new data.
To save the data inserted in the printer settings menu click on the save button
If the user want to exit the printer settings page click on exit button.