Accoxi facilitates a feature for different user groups to permit the accessibility to different modules in Accoxi.

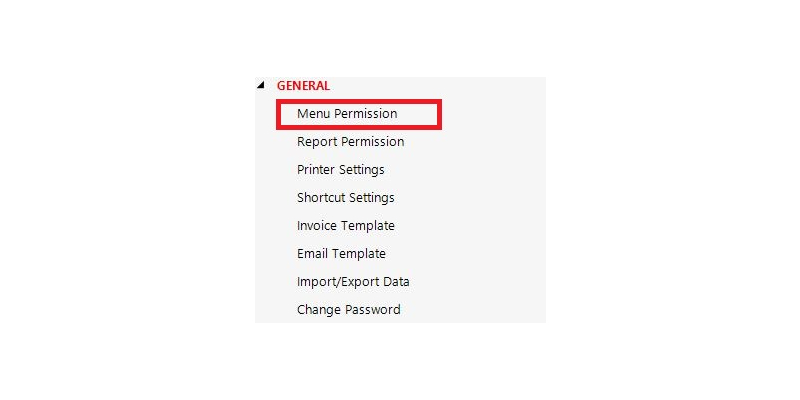
ACCOXI facilitates a feature for different user groups to permit the accessibility to different menus. This can opt from settings => menu permission.
There will be different user types in an organization each user types will be having different need of information so an admin can give the users access to the menus that they needed to work.
Admin can set permission of menus like accounts, inventory, purchase etc. to different user types by selecting the user type from the drop down list and giving tic mark to the necessary menus.
The access can be defined like view only, save, update, delete, print, cancel, search, export to the user group.
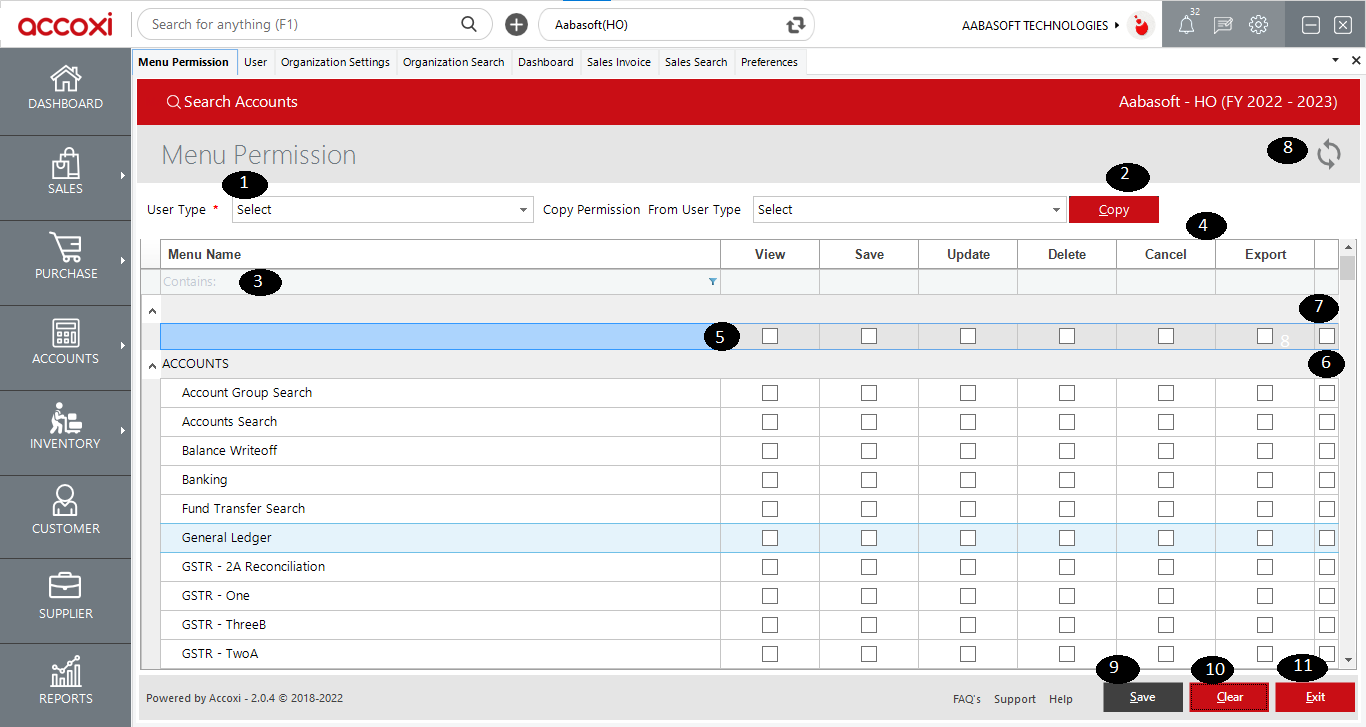
1. User type:
Admin can select the user type from the drop-down list to set the menu permission for the same.
2. Copy Permission:
Copy permission from user type option enables the user to duplicate the same permissions given to a user type to another user type by selecting the user type.
3. Filter menu name:
Admin can filter the menu names using the various filter options. This will help the admin to easily access the menus to give permission to the user types.
4. Permissions:
Admin can set the menu permission to the user group in a way of giving view, save, update, delete, print, cancel, search, and export. Access.
5. Column selection
By clicking on this the whole column will be selected to give permission to the user type.
6. Row selection
By clicking on this the whole row will be selected to give permission to the user type.
7. All selection
By clicking on this the whole data will be selected to give permission to the user type.
8. Refresh:
If your latest data is not displayed, click on the refresh icon on the top left corner of the page to fetch the new data.
9. Save :
To save the permissions given to the user click this button and the changes will be saved.
10. Clear:
To clear the selections in the window click the clear button.
11. Exit :
To exit from the window without saving any changes made click on the exit button.