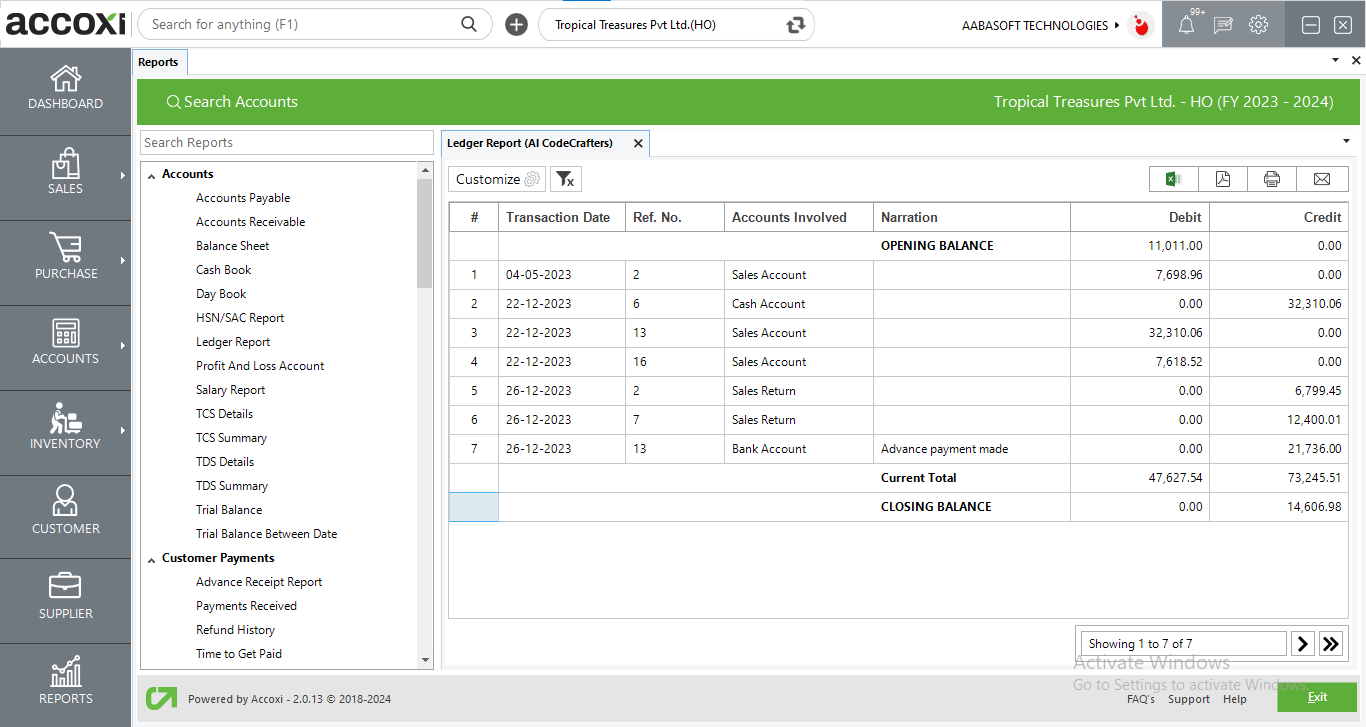
The ledger report contains the account summaries, including details of every transaction going in and out of your accounts.

The ledger report is a comprehensive document that offers an in-depth overview of the financial transactions related to a specific account. It includes details such as debit and credit entries, dates of transactions, and corresponding amounts. This report serves as a valuable tool for tracking the financial activity of an individual or business entity. Navigating to the ledger report involves selecting the desired account and specifying the reporting period within the system. Through the ledger report, users can gain insights into the account balance, monitor transaction trends, and ensure accuracy in financial records. The report is instrumental for auditing purposes, as it provides a transparent and organized account history. Overall, the ledger report plays a crucial role in financial management, aiding in decision-making and maintaining financial accountability.
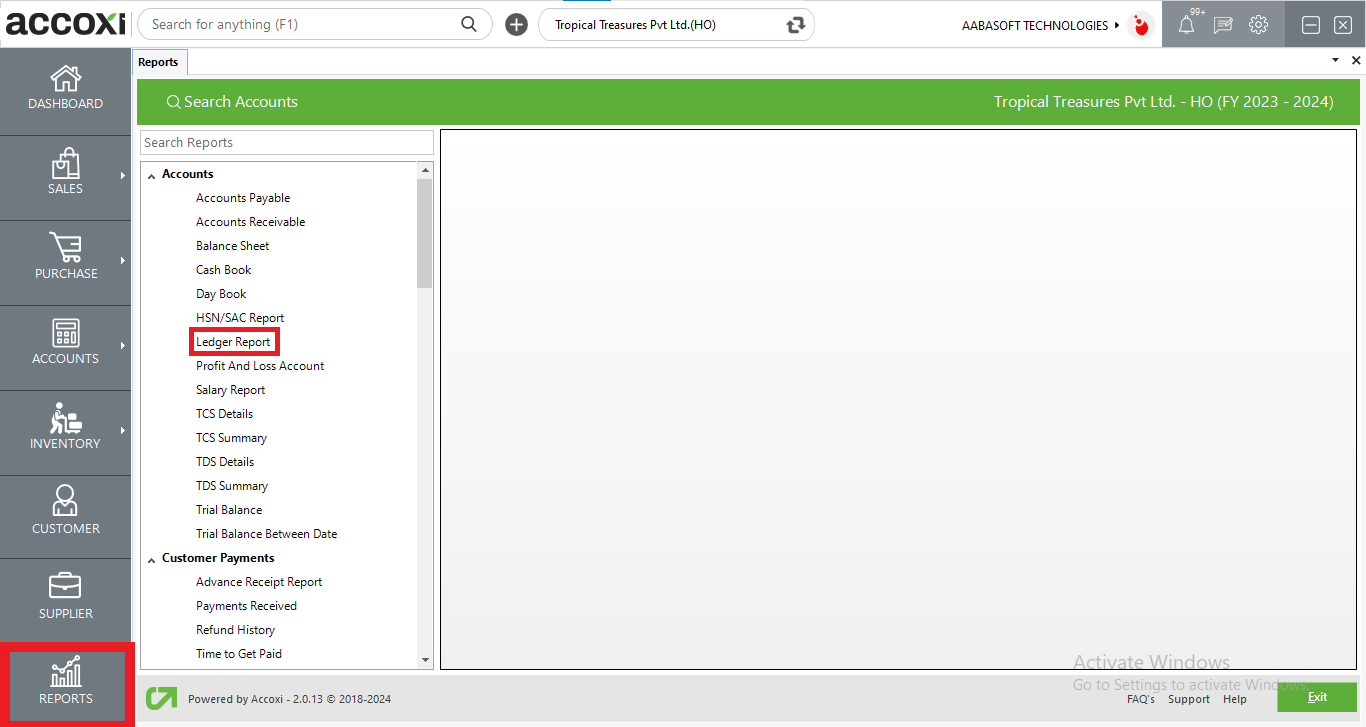
Access the Ledger report by navigating to the Accounts section, choosing the Ledger report option; this action will initiate the presentation of the Ledger report on the screen.
By utilizing the customize report option, users can choose the ledger account and access detailed information such as transaction date, accounts involved, and amount details.
MENU AVAILABLE IN LEDGER REPORT
|
Field |
Description |
|
Customize |
The Ledger Report can be refined through the Customize Report option, allowing users to filter by ledger account and date range. When opting for the ledger filter, users need to select a specific ledger from the available list by clicking on the search option.
Alternatively, users can filter the Ledger Report by date using the Customize menu. By selecting the By Date option, users enter the start and end dates, and the report for the chosen ledger is displayed on the screen.
Executing the report is accomplished by clicking on the Apply button, providing users with a customized report based on the specified data criteria. |
|
Remove Filter |
The "Remove Filter" button is employed to clear any filters that have been applied to the data. |
|
Export to Excel |
By clicking this button, users can export the report to Excel. |
|
Export to PDF |
Clicking this button allows the user to export the report to PDF. |
|
|
This button enables users to print the ledger report. |
|
|
To send the report via email, simply click this button. The report in PDF format will be attached to the email, and you can input the recipient's email address, CC address, subject, and any additional details for the email. |
|
Pagination |
The pagination control offers the capability to navigate from one page to another. |
|
Exit |
Clicking the 'Exit' button allows the user to exit from the report. |
DATA AVAILABLE IN LEDGER REPORT
|
Field |
Description |
|
# |
The symbol '#' represents the number of lines in the given context. |
|
Transaction Date |
The date of the transaction is presented within this field. |
|
Ref No |
The reference number for the transaction is visible in this field. |
|
Accounts Involved |
The field labelled "Accounts Involved" indicates the accounts engaged in the transaction. Clicking on the Accounts provides access to the corresponding view of the transaction. |
|
Narration |
The narration provided during the transaction is presented here. |
|
Debit |
The field here showcases the debit amount associated with the transaction reference. |
|
Credit |
The field here displays the credit amount corresponding to the transaction reference. |
|
Opening Balance |
The displayed information includes the opening balance of the selected account. The "Opening Balance" signifies the initial credit or debit balance in the specified account for the specified period. |
|
Current Total |
The "Current Total" reflects the overall sum of debits and credits for the chosen period. |
|
Closing Balance |
The final balance in the account, known as the closing balance, is determined by subtracting the total debit and credit amounts, which includes the opening balance. |
Yes. You can take print out of the Ledger report. It can be done by the following steps;
ACCOXI provides the module of Reports and it consist of various heads of reports like Payables, Receivables, Accounts, Purchase, sales etc. Ledger report included in Accounts head. The ledger report contains the account summaries, including details of every transaction going in and out of company’s accounts. Ledger reports can be used to create audit work papers or transaction listings to analyze business issues.
You can filter the ledger report by using the option Customize Report and can filter the data with a single ledger. It can be done by following steps;
Yes. You can export the Ledger report to excel format.
Yes. You can access the Invoice view form with in the ledger report by using the drill down option on Accounts involved field.
ACCOXI provides the module of Reports and ledger report included in it. This report displays the details of transaction date, accounts involves, amount details etc.
It shows the type of account that involved in the transaction, you can access the accounts involved by clicking on the field. To check the account details of an invoice, click on the Accounts Involved field. While clicking on the field, it opens to the invoice view.