Accoxi's POS system ensures the smooth running of your business.

The point of sale, or point of purchase, is the moment and location where a retail transaction is finalized. It's the spot in a store where a product transitions from the seller to the customer. ACCOXI offers a Point of Sale system to users, facilitating the smooth and efficient operation of their business. With ACCOXI, anyone can utilize the Point of Sale function for speedy billing and cash sales.
Here are some key features of the POS system:
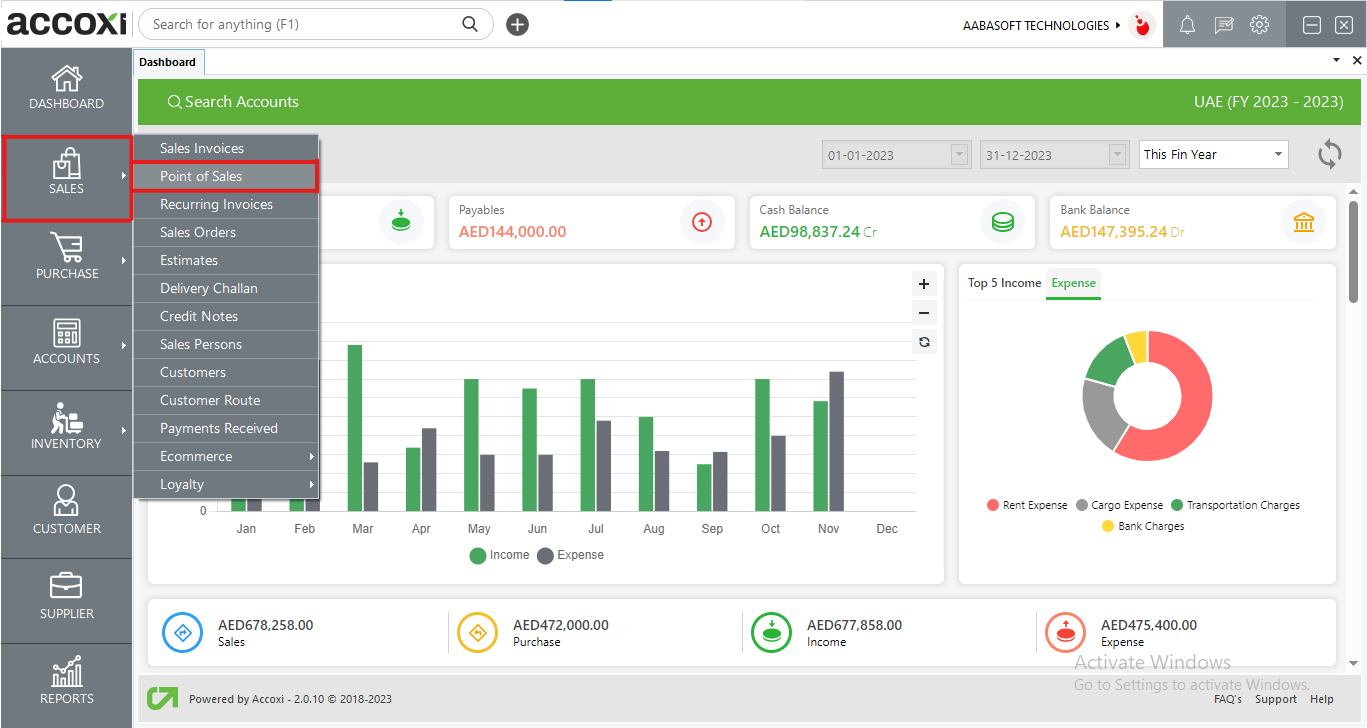
To access the Point of Sales (POS) functionality, click on the Sales module and choose the Point of Sales option. This action will direct the user to the POS form.
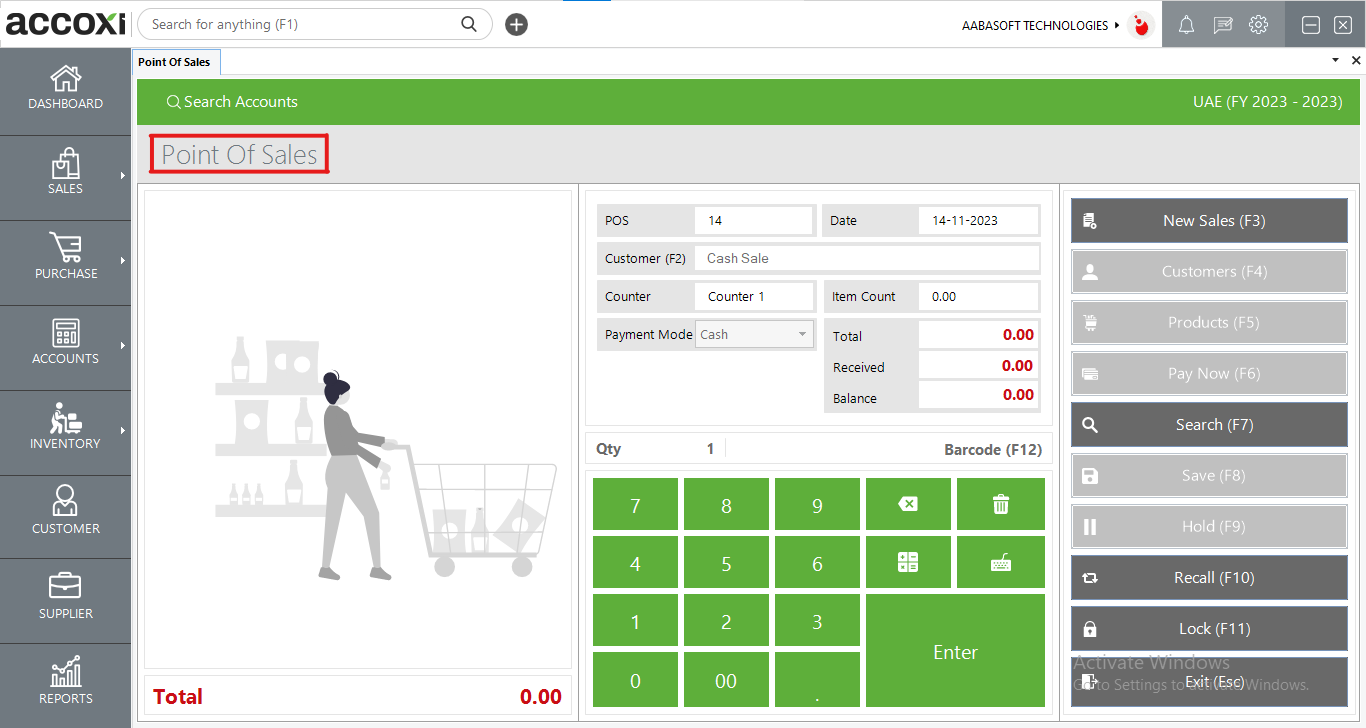
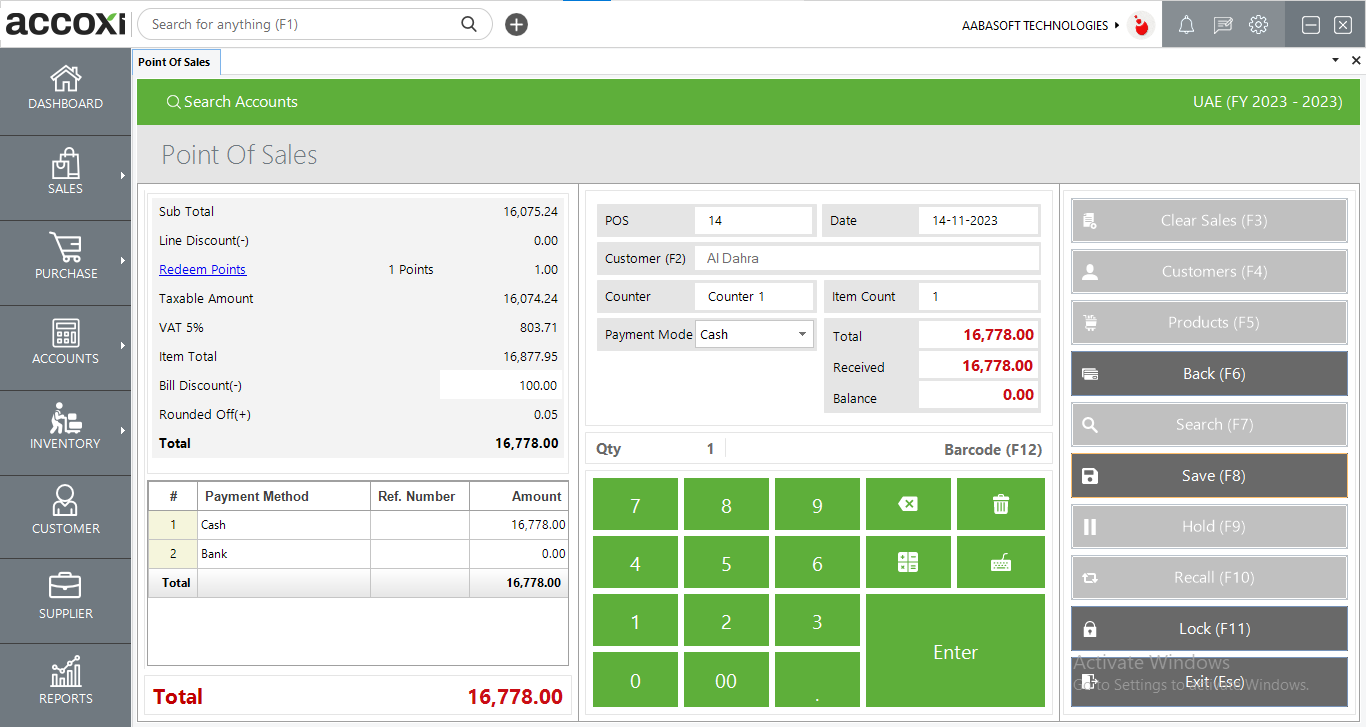
Options Available in Point of Sales
The Point of Sale encompasses several options, allowing users to generate a new POS bill using these available features.
|
Fields |
Description |
|
POS Number |
The POS number serves as a unique identifier for transactions in records. It automatically appears on the form, and users cannot edit the number. It continues from the previous POS bill for seamless tracking. |
|
Date |
The date of the POS transaction will be displayed here, and it will also appear on the POS bill. |
|
Customer |
Users can initiate a cash sale directly from this interface, and they also have the option to create a new customer by entering the customer's name, mobile number, and email address.
For quick access to all created customers in the business, the shortcut key F2 has been assigned. Alternatively, users can navigate to the created customers through the options provided on the right side of the form. |
|
Counter |
This displays the counter name associated with the POS system. |
|
Item Count |
Indicates the quantity of items added to the cart, located on the left side. |
|
Total |
The total amount of the bill is provided here. |
|
Received |
The amount received from the customer can be displayed here. |
|
Balance |
The balance amount to be returned to the customer is shown here. |
|
QTY |
In this field, users can input the desired quantity of the item. |
|
Barcode |
This menu facilitates the search for products to be sold. Users can add products to the cart by scanning the barcode. Additionally, product search can be conducted by pressing the Enter key or by selecting created products from the product list. |
|
New Sales & Clear Sales |
This menu is employed to clear the data entered in the POS form, allowing for the creation of new POS sales. |
|
Products |
Users can access the created products either by clicking on them or utilizing the F5 key. |
|
Pay Now |
To initiate payment from customers, users can choose either to click on "Pay Now" or press F6. Users are provided with the option to select their preferred payment method, including cash, cheque, or debit/credit card. |
|
Search |
The search option enables users to access all the created Point of Sale (POS) instances. |
|
Save |
After inputting the payment details, select "Save" to store the POS transaction. |
|
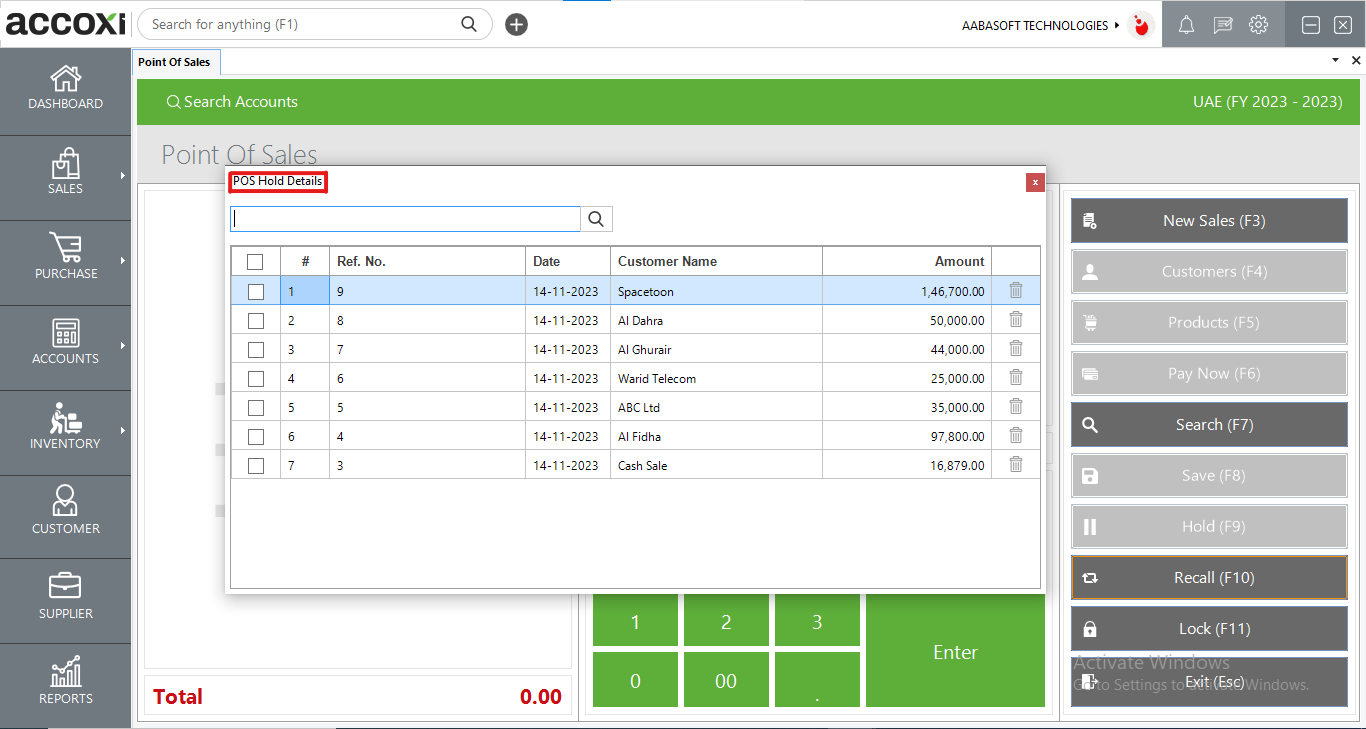
Hold |
The "Hold Menu" feature serves the purpose of pausing a specific POS transaction to attend to the next customer or invoice. The bill placed on hold can be retrieved later when needed. |
|
Recall |
The hold bills can be retrieved and saved by utilizing the "Recall" option. |
|
Lock |
The "Lock" option secures the entire POS form, and it can only be unlocked by entering the ACCOXI password. |
|
Keypad Options |
*Backspace: Utilize the backspace key to delete entered data.
*Delete Option: Remove selected items in the cart by using the delete function.
*Calculator: Access the calculator by clicking on the calculator button.
*Keyboard: Use this function to access the built-in ACCOXI keyboard. |
Here are the steps to create and save a Point of Sale (POS)
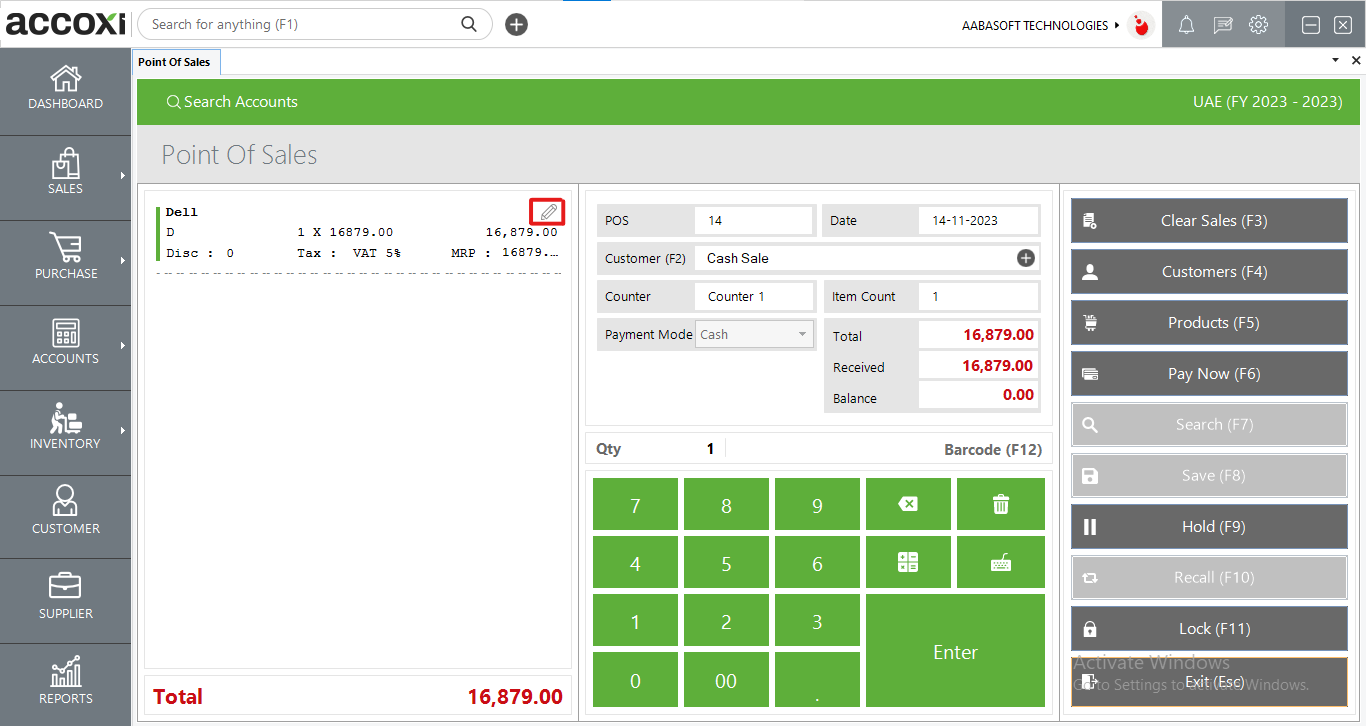
After save the details, POS bill will appear on the window.