Products and services are of different brands and users of Accoxi can create and assign brands to their products
A brand encompasses a product, service, or idea that is clearly differentiated from others in the public domain, making it easily communicable and typically marketable. The brand name specifically refers to the unique identifier of a product, service, or concept. The act of establishing and spreading this brand name is known as branding. Within ACCOXI, users have the ability to specify the brand associated with the products they handle, entering brand information for each product within the item form. This functionality can be accessed and managed through the inventory module under ACCOXI's brand feature.

Primary features include:
OPTIONS AVAILABLE IN BRAND MENU
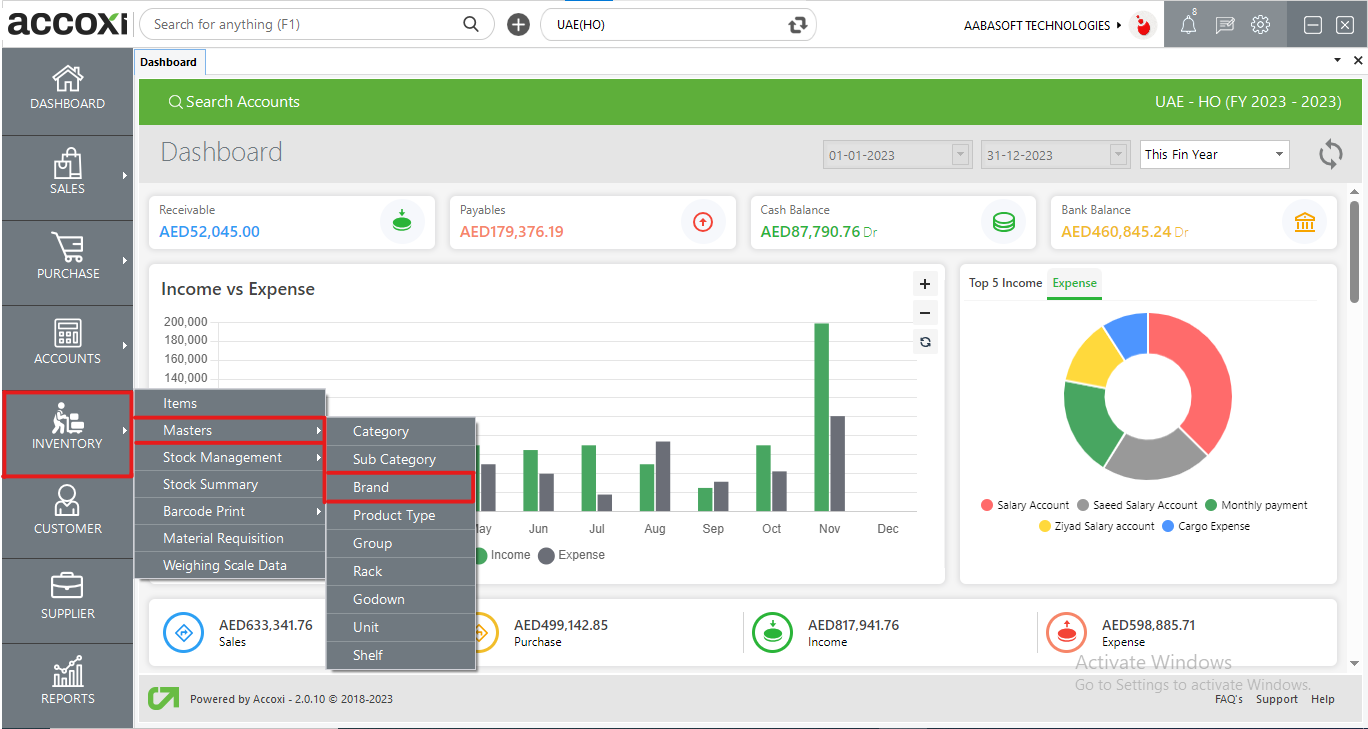
Upon clicking the inventory module and selecting the "BRAND" menu, users will be redirected to a dedicated "BRAND" window. In this window, users can conveniently access and view a comprehensive list of all the created brands. This streamlined interface provides a centralized location for efficient brand management within the system.
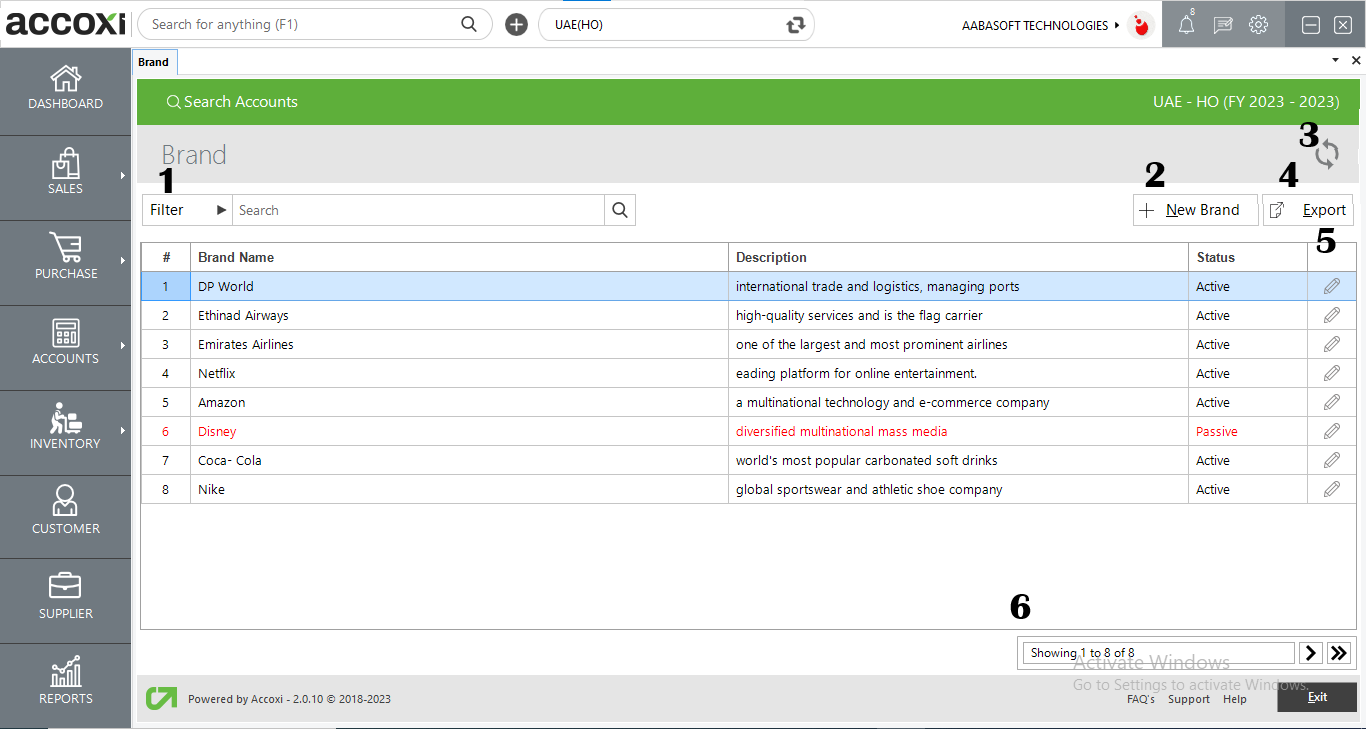
1. FILTER
The brand search window incorporates a convenient filter option to streamline brand data retrieval. Users have two methods to filter the brand data. Firstly, they can directly input the brand name into the search bar adjacent to the filter option. Alternatively, by clicking the filter drop-down, users can refine their search by entering both the brand name and its status, which can be either active or passive.
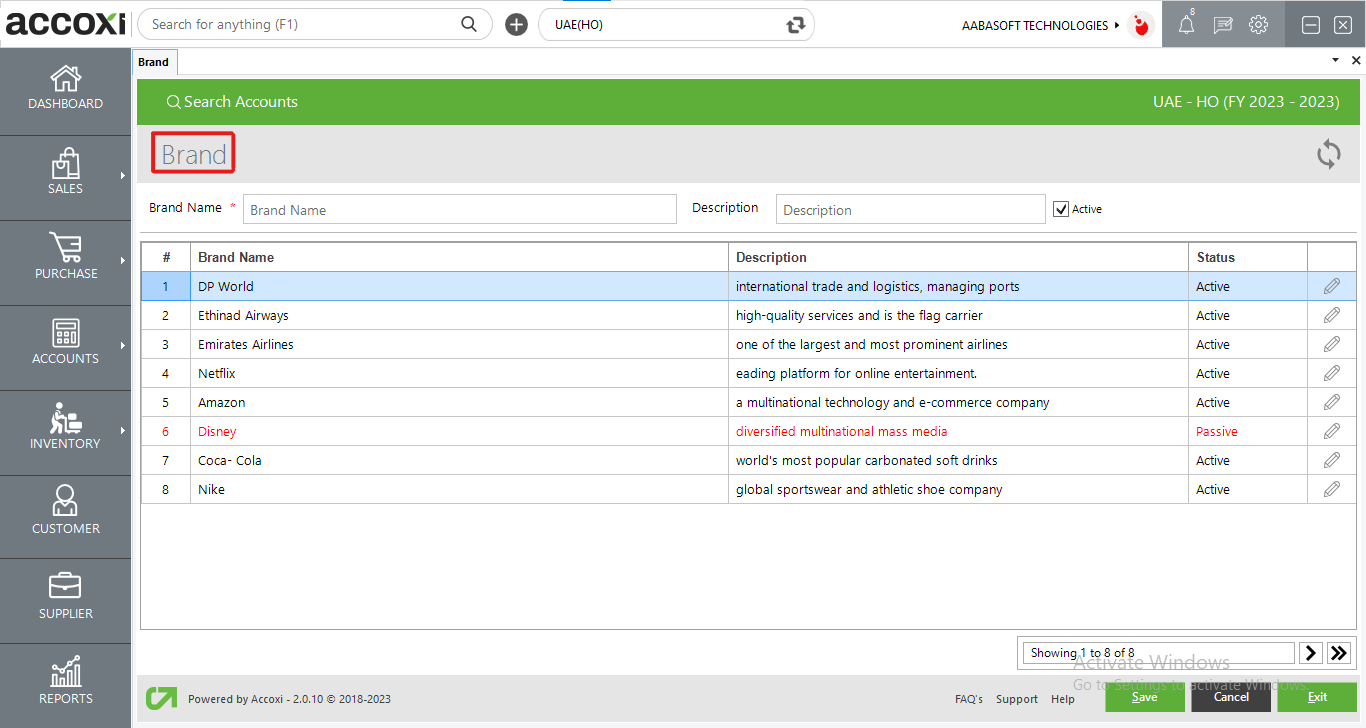
2. NEW BRAND
The creation of a new brand is facilitated by selecting the "New Brand" option.
Steps to Add a New Brand:
|
Field |
Description |
|
Brand Name |
Input the brand name in this field. |
|
Description |
Provide the brand description in this designated field. |
|
Active |
To enable or disable the brand status, use the activation or deactivation option. |
|
# |
Displays the serial number of the data within the table. |
|
Brand Name In The Table |
Displays the names of previously entered brands. |
|
Description In Table |
Displays the descriptions of the previously entered brands. |
|
Status |
Indicates the status of previously entered brand data. |
|
Edit |
Enables the editing of previously entered brand data. |
|
Pagination Control |
Manages page navigation and page size. The page size can be configured to 10, 20, 50, or 100. To navigate to a specific page, enter the page number in the designated box and click the "Go" button. This action directs the system to the specified page. |
|
Save |
Use the "Save" button to store the newly created brand information. |
|
Cancel |
To discard the entered data in the New Brand window, you can use the "Cancel" button. |
|
Exit |
This button allows you to exit from the entire Brand window. |
3. REFRESH
If your most recent data isn't visible, select the refresh icon located at the top left corner of the page to retrieve the updated information.
4. EXPORT
Export the Brand list to Excel format by clicking the Export button situated at the top right corner near the +New button. Choose the file location and click save.
5. EDIT
To modify brand data, easily access the Edit option. It redirects the user to update the brand name column and allows for the updating of both the brand name and status.
6. PAGINATION CONTROL
Manage page navigation and size with the Pagination Control. Adjust the page size to 10, 20, 50, or 100. Enter a page number in the designated box and click the Go button to navigate directly to the specified page.
7. EXIT
Located below the pagination control, the Exit button allows you to leave the brand search page. Click on Exit if you wish to exit the current page.