Learn to create and manage salesperson in Accoxi

A salesperson is an individual responsible for selling products, either in a retail store or directly to customers on behalf of a company. In Accoxi, users have the capability to create and manage salesperson profiles. Additionally, users can associate salesperson details with Sales Invoices. This functionality aids in tracking sales attributed to specific salespersons, providing valuable information for both users and customers regarding sales transactions.
Key Features of Sales Person:
Provides a comprehensive view of the Sales Person created by the user, including their mobile number and address.
Displays the current status of the Sales Person, indicating whether they are Active or Inactive.
Allows the user to allocate salespeople to different branches, enhancing organizational flexibility.
Enables the user to add the salesperson's details directly in the Sales Invoice, streamlining the invoicing process.
Facilitates the identification of sales attributed to specific Sales Persons, offering insights into individual sales performance.
Assists customers in obtaining relevant information regarding the sales transaction by linking it to the respective Sales Person.
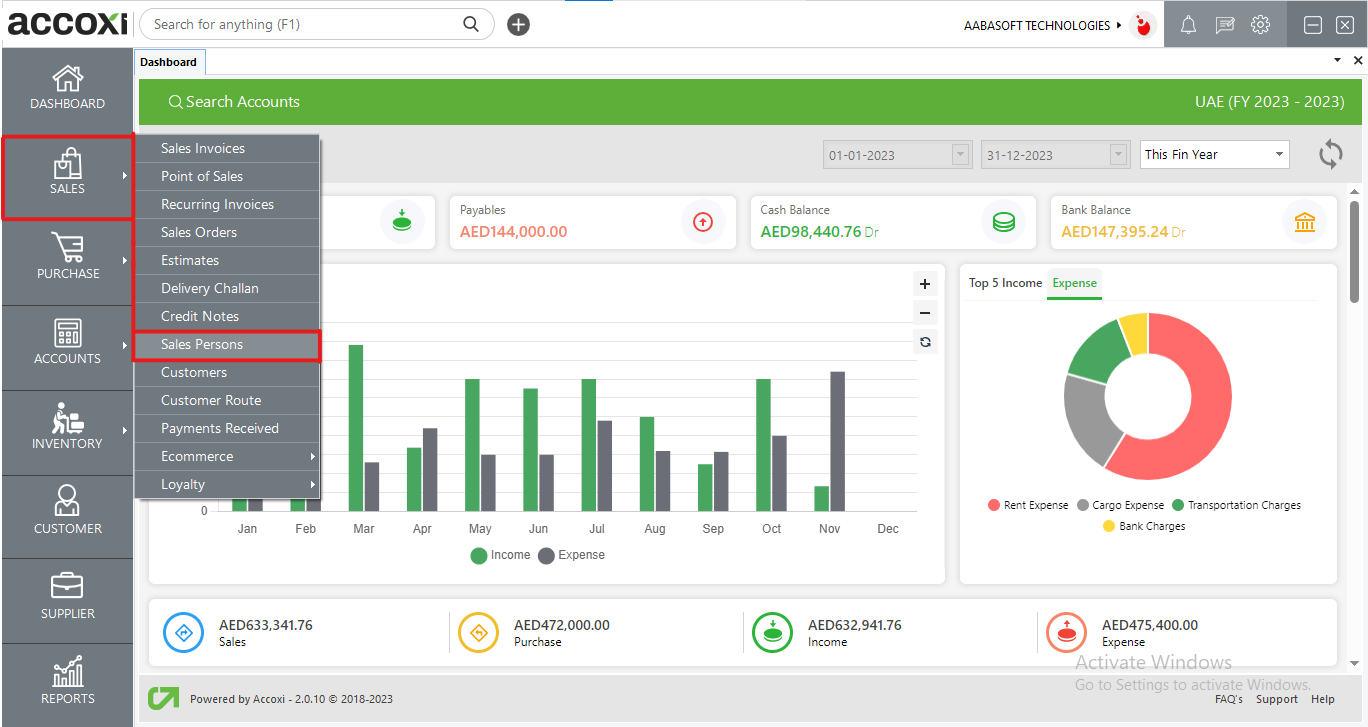
To access the Sales Persons menu in the Sales module:
Clicking on the Sales Persons option opens the Sales Persons window, providing access to features related to salesperson management.
Sales Person page
The Sales Persons window comprises various menus and displays the complete list of salespersons created by the user. This interface allows users to manage and view information related to salespersons efficiently.
Menu available in Sales Person Search
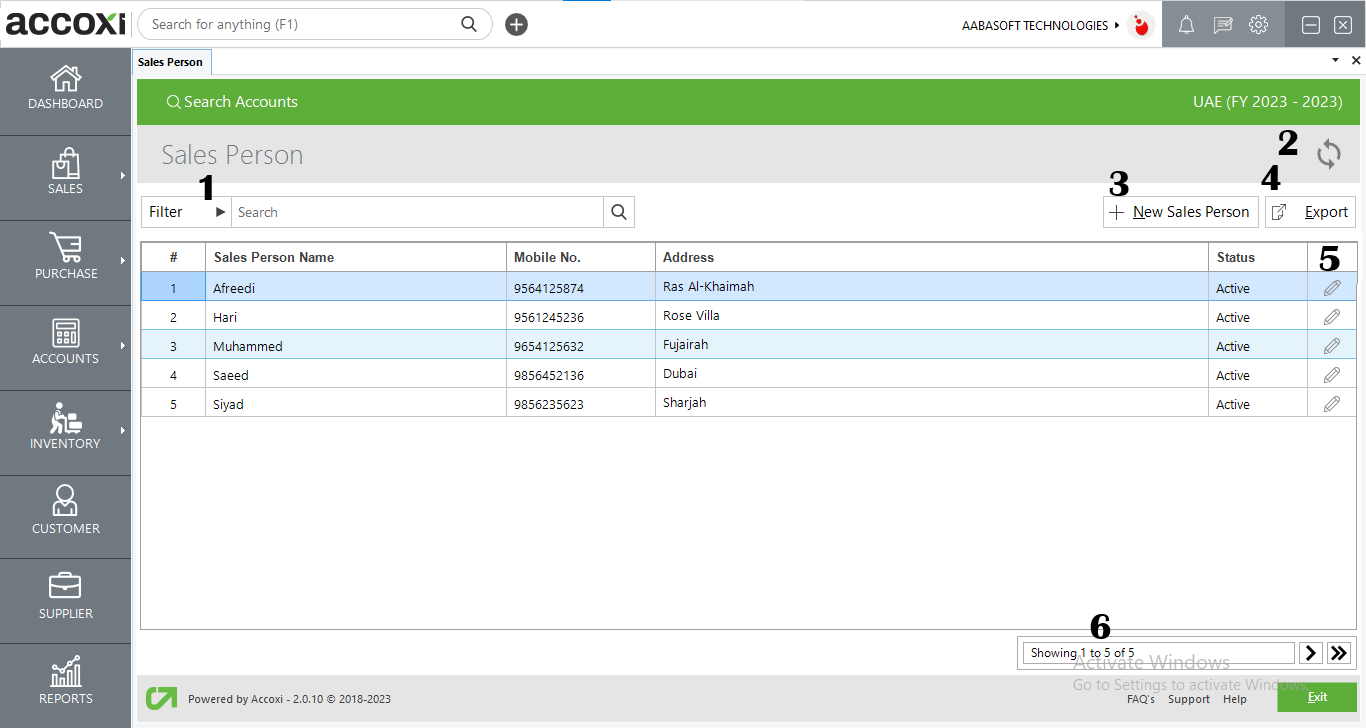
The filter options for Salesperson details can be utilized in two ways:
Users can enter the Salesperson name directly into the search bar near the filter option.
By clicking the filter drop-down, users can filter the data based on:
These filter options provide flexibility for users to search and organize Salesperson details according to their specific criteria.
To ensure that the most recent data is displayed, users can click on the refresh icon located at the top left corner of the page. This action refreshes the page and fetches the latest data, keeping the information up-to-date.
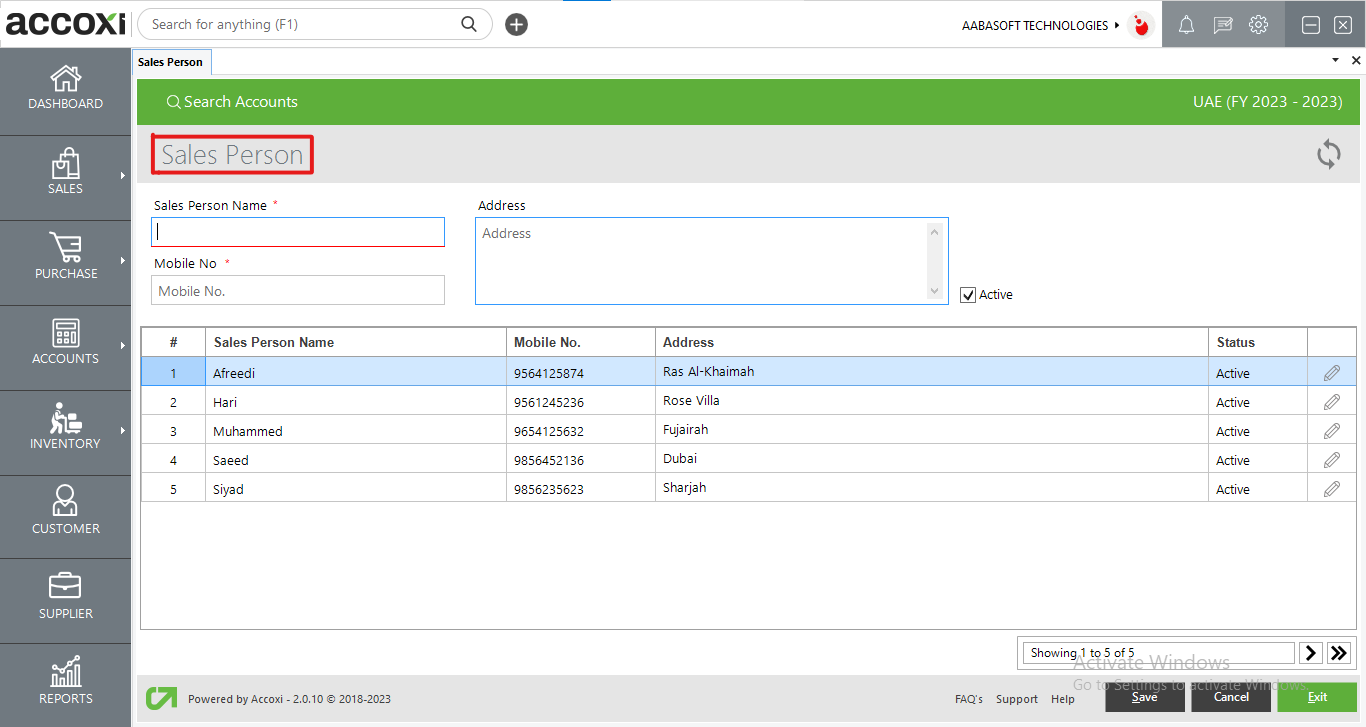
This menu serves to create or add a new Sales Person account. By clicking on the "+New Sales Person" option, a new window, known as the Salesperson form, will appear. This form allows users to input the necessary details for setting up a new Sales Person account.
To create or add a new Sales Person account, follow these steps:
4. Export
5. Edit the menu
This menu provides users with the capability to edit or correct salesperson details that have already been created. By selecting the "Edit" option, the salesperson form will appear, allowing users to make necessary edits or corrections to the details as required. Users can change the status of a created active salesperson account to inactive by utilizing the edit menu. This allows users to modify the status of a salesperson account from active to inactive as needed.
6. Pagination Control
This feature manages both page navigation and page size. Users have the option to set the page size to 10, 20, 50, or 100 entries. By entering the desired page number in the designated box and clicking the "Go" button, the system navigates to the specified page. This functionality enhances user control over the display of information.