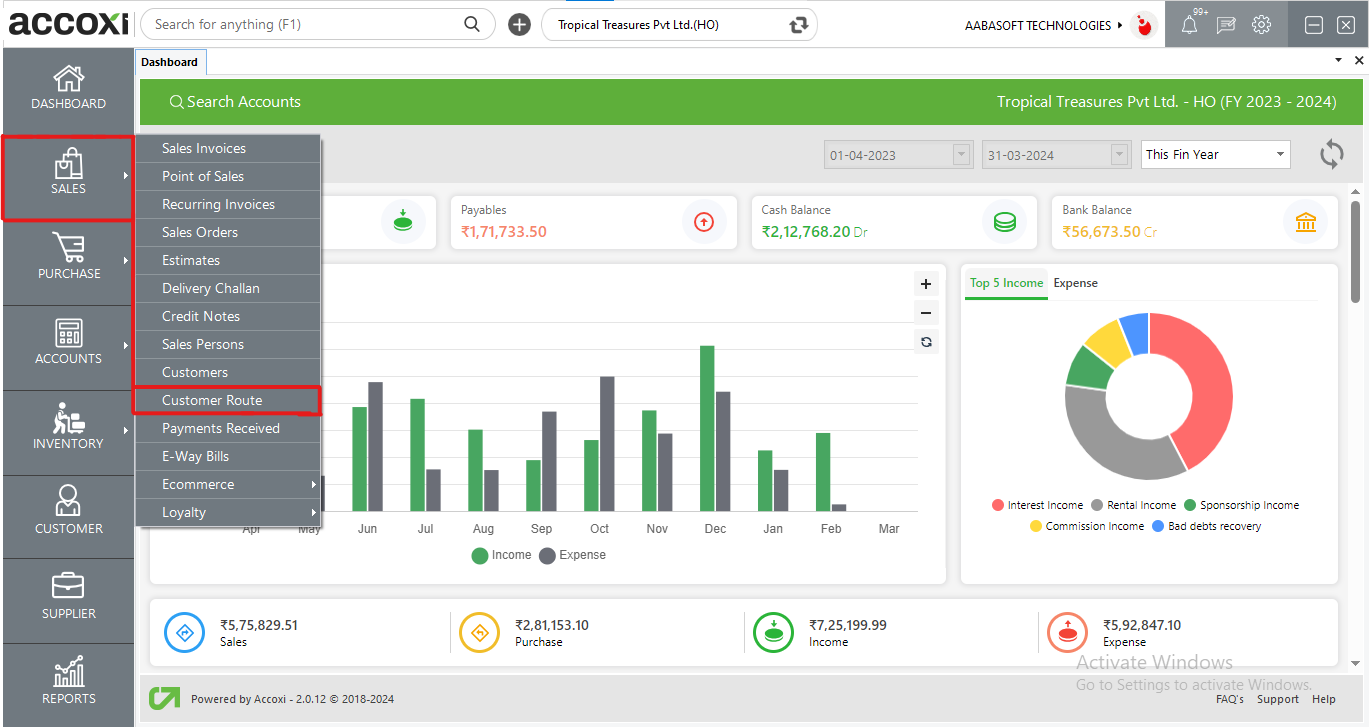
Customer route in Accoxi helps the user to assign routes to their customers.
Customer route in Accoxi helps the user to assign routes to their customers. Users can set these routes while creating customers and can also generate route-wise party reports. The customer route form also helps the user to appoint salespersons for the purpose of better tracking of your customer information in that particular area.

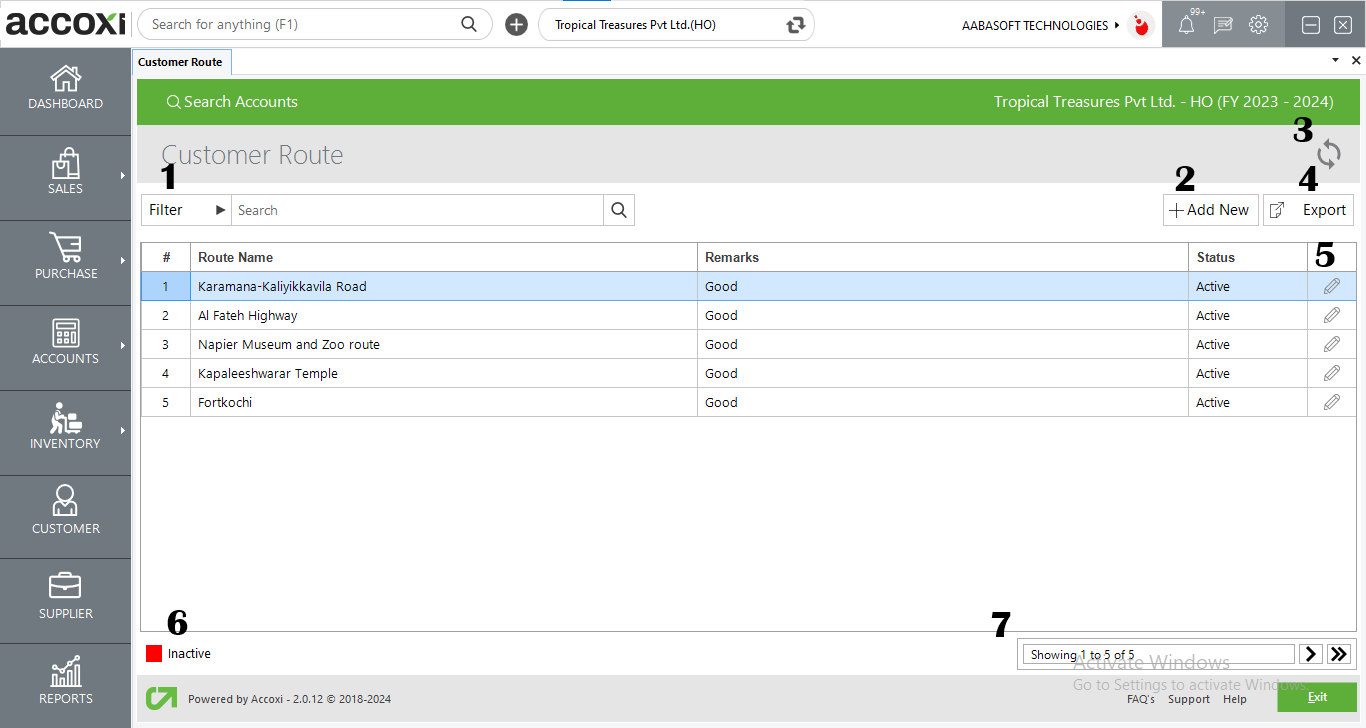
1. Filter option
2. Refresh button
3. Add a new option
|
Field |
Description |
|
# |
Serial number of data in the table |
|
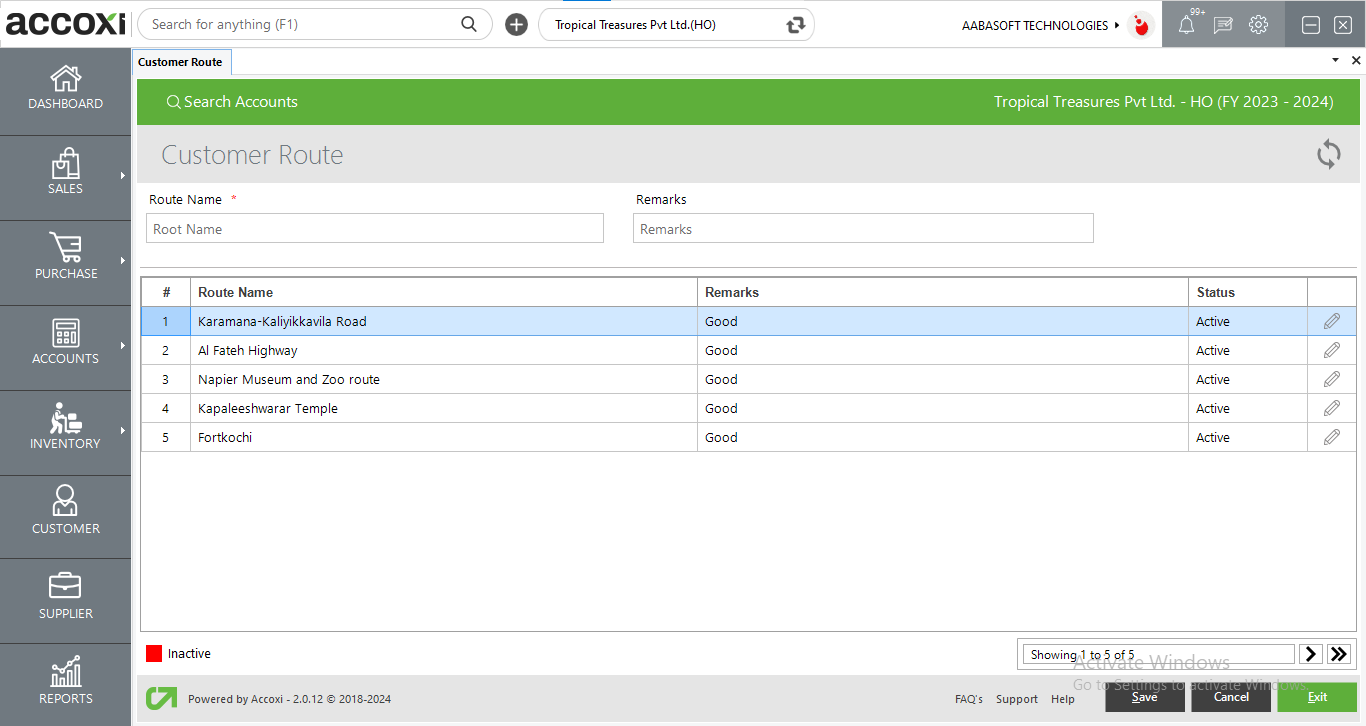
Route Name |
The particular Customer Route name |
|
Remarks |
Remarks relating to Customer Route if any, |
|
Type |
Customer |
|
Status |
It shows active or inactive Customer Route |
|
Edit |
User can edit the particular Route name |
4. Export option
5. Edit option
6. Inactive option
7. Pagination control